
Installing a network adapter in a server is a crucial task for maintaining and enhancing network capabilities. This guide will walk you through the process, ensuring that you can perform this task efficiently and without issues.
Required Tools and Equipment
Before starting the installation, make sure you have the following tools and equipment:
- Screwdrivers
- Anti-static wrist strap
- Network adapter card
- Server manual
- Drivers and software for the network adapter
Double-check that the network adapter is compatible with your server’s hardware and operating system.
Preparation Steps
1. Power Down the Server
Ensure that the server is turned off and disconnected from any power sources. This is crucial for both safety and preventing any potential damage to the server or network adapter.
2. Ground Yourself
Use the anti-static wrist strap to ground yourself and prevent electrostatic discharge, which can damage sensitive electronic components.
Installing the Network Adapter
3. Open the Server Case
Consult your server’s manual for instructions on how to open the case. Typically, this involves removing screws or loosening latches. Be careful while opening the case to avoid damaging any internal components.
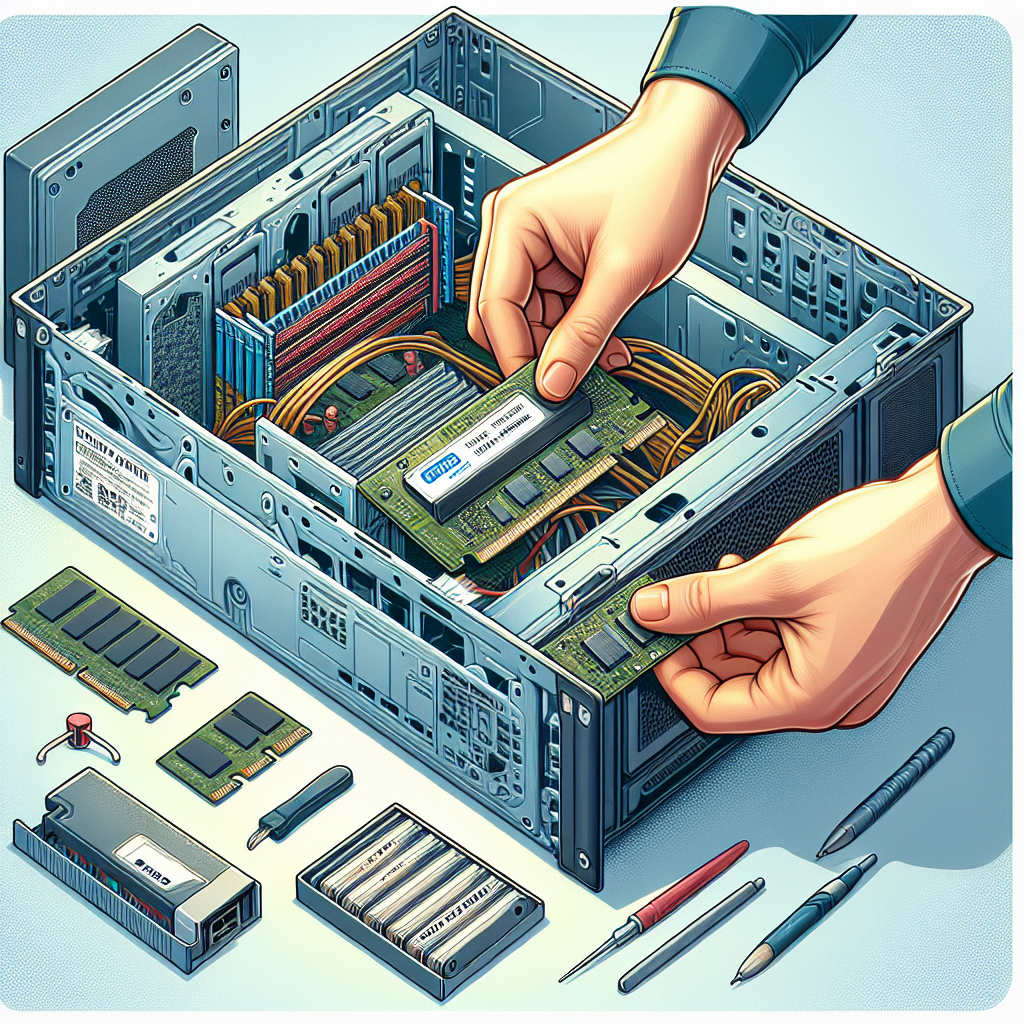
4. Locate the PCIe Slot
Identify an available PCIe (Peripheral Component Interconnect Express) slot on the server’s motherboard. The PCIe slot is usually located near the bottom of the motherboard and is designed for expansion cards like your network adapter.
5. Insert the Network Adapter
Align the network adapter’s connectors with the PCIe slot and carefully insert the card. Apply even pressure until the card is fully seated in the slot. Secure the card with screws if necessary.
6. Close the Server Case
Carefully close the server case and secure it with screws or latches according to the server’s manual.
Post-Installation Steps
7. Reconnect Power
Reconnect the server to its power source and turn it on.
8. Install Drivers and Software
Once the server has started, install the necessary drivers and software for the network adapter. This software is often included on a CD that comes with the network adapter or can be downloaded from the manufacturer’s website.
9. Configure Network Settings
After installing the drivers, configure the network settings according to your organizational needs. This may involve setting up IP addresses, DNS servers, and other network configurations.
Testing and Validation
10. Verify Hardware Installation
Go to Device Manager (for Windows) or a similar utility (for other operating systems) to ensure that the network adapter is recognized and functioning properly.
11. Check Network Connectivity
Test the network connection by connecting the server to your network and verifying that it can communicate with other devices. You can use the ping command to test connectivity with other network devices.
| Component | Action |
|---|---|
| Network Adapter | Insert into PCIe slot |
| Power Supply | Reconnect and turn on |
| Drivers | Install required software |
| Network Settings | Configure as needed |
| Connectivity | Test network communication |
By following these steps, you’ll ensure that your network adapter is correctly installed and fully operational, enhancing your server’s networking capabilities.
Troubleshooting Tips
Common Issues and Fixes
- Adapter Not Recognized: Ensure the card is fully seated in the PCIe slot and try a different slot if necessary.
- Driver Issues: Verify that you have installed the latest drivers from the manufacturer’s website.
- Network Problems: Double-check network configurations such as IP addresses, subnet masks, and DNS settings.
When to Seek Professional Help
If you encounter persistent issues despite following this guide, it may be necessary to seek professional help. A certified technician can diagnose and resolve more complex problems that may arise during the installation process.
Now that you know how to install a network adapter in a server, you can confidently upgrade your server’s networking capabilities. Proper installation and configuration will ensure optimal performance and reliability for your organization’s network.